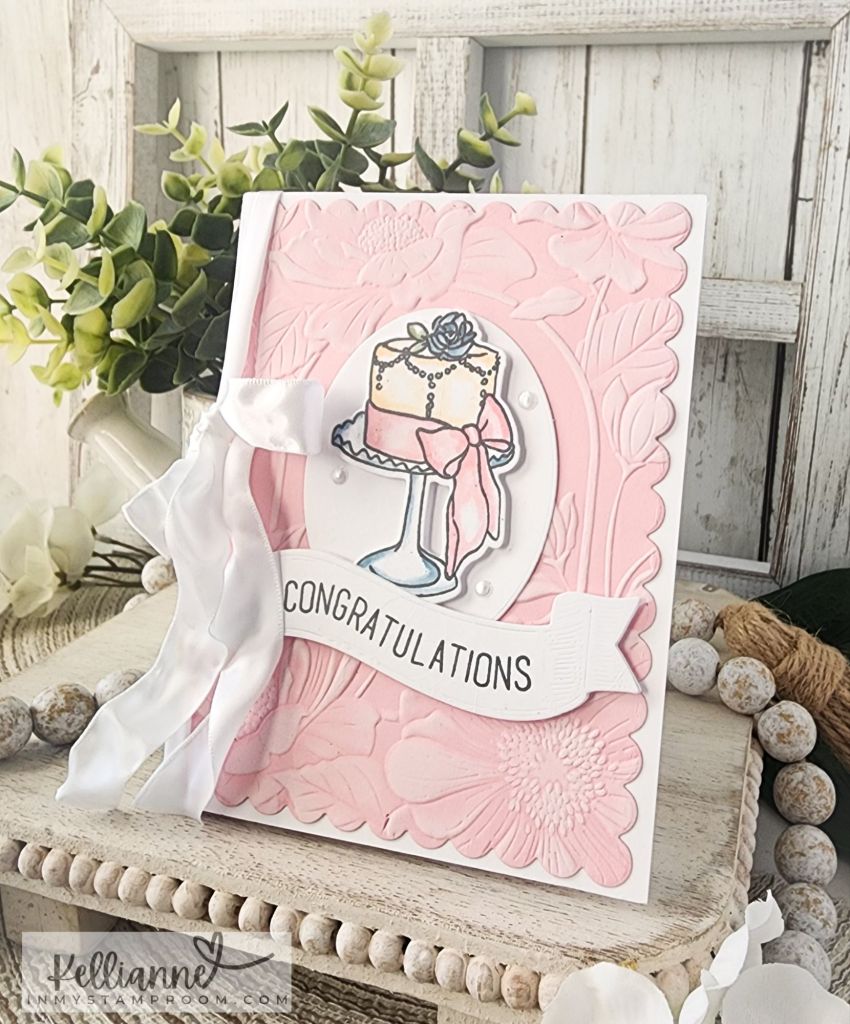
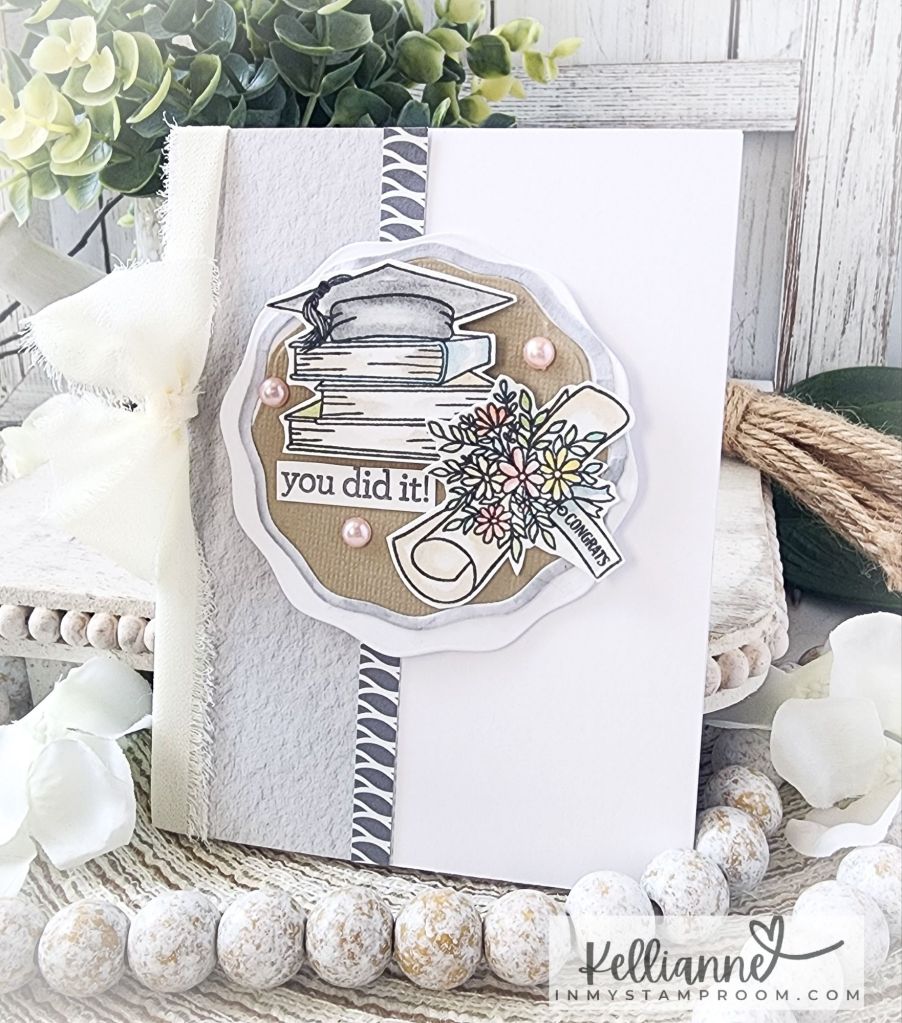
You did it!
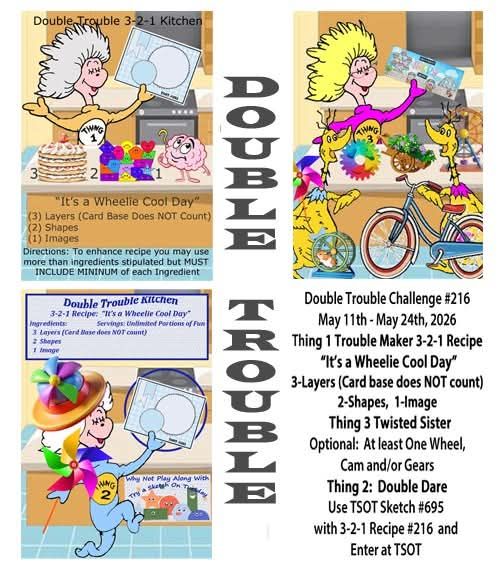
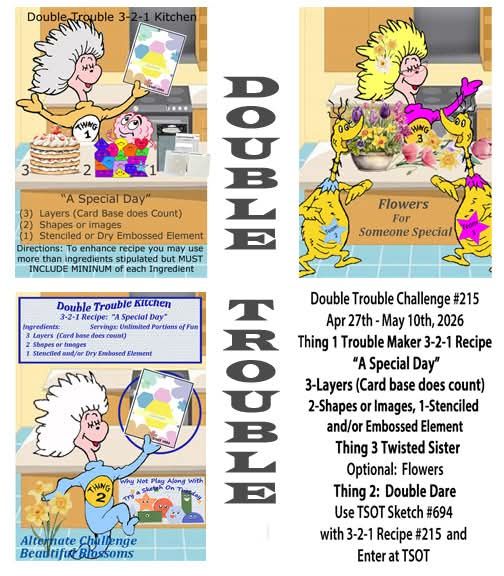
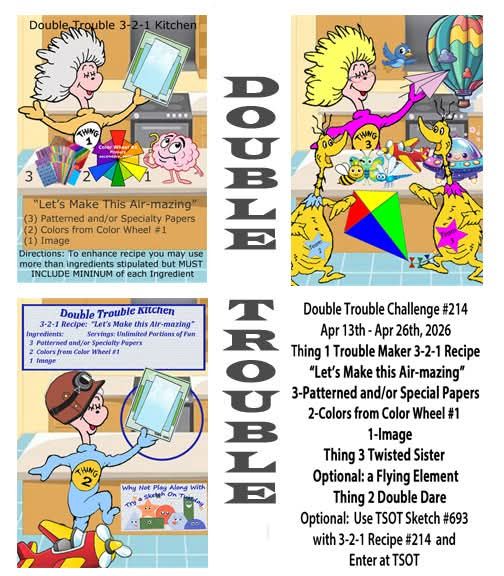
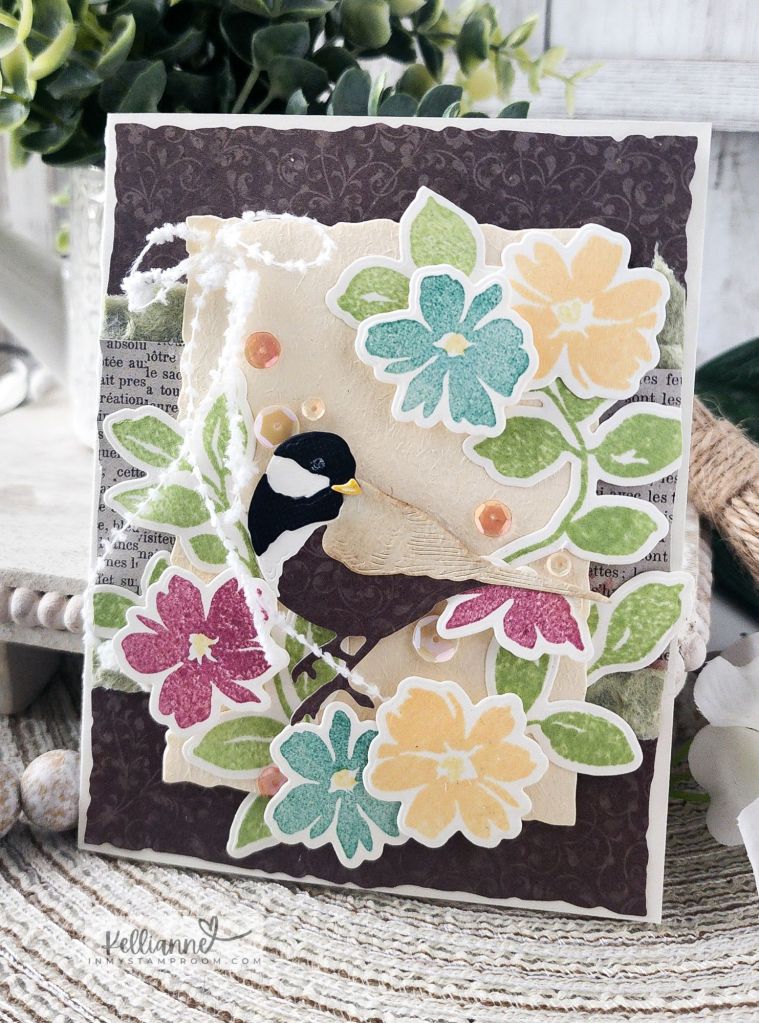
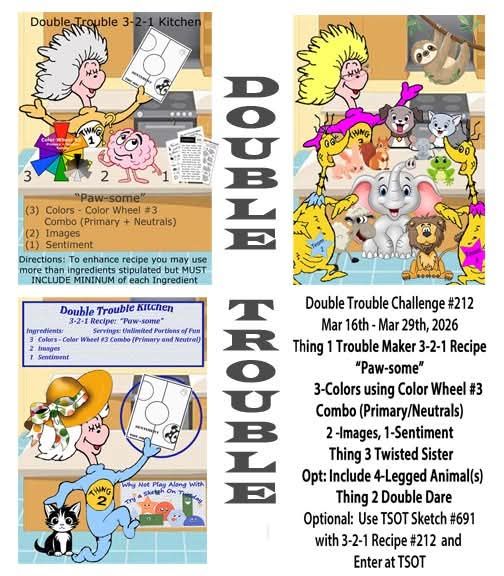
It’s that time of year for graduations! So I currently have lots of graduation cards going and it’s perfect for the current challenge at Double Trouble! They are having an 8th Anniversary Celebration Raffle
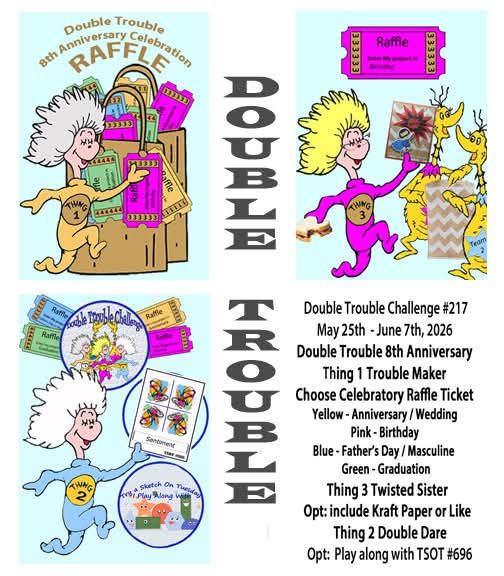
Thing 1 says to chose your raffle ticket and I chose green – graduation
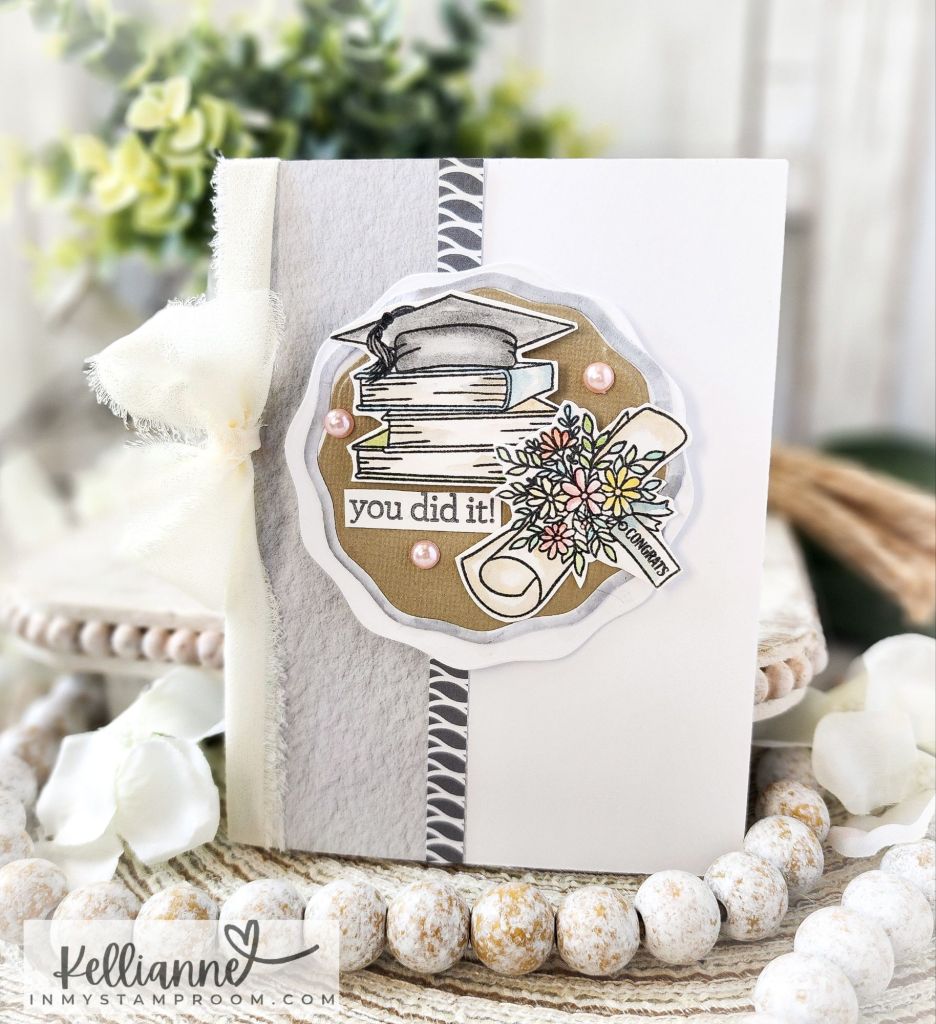
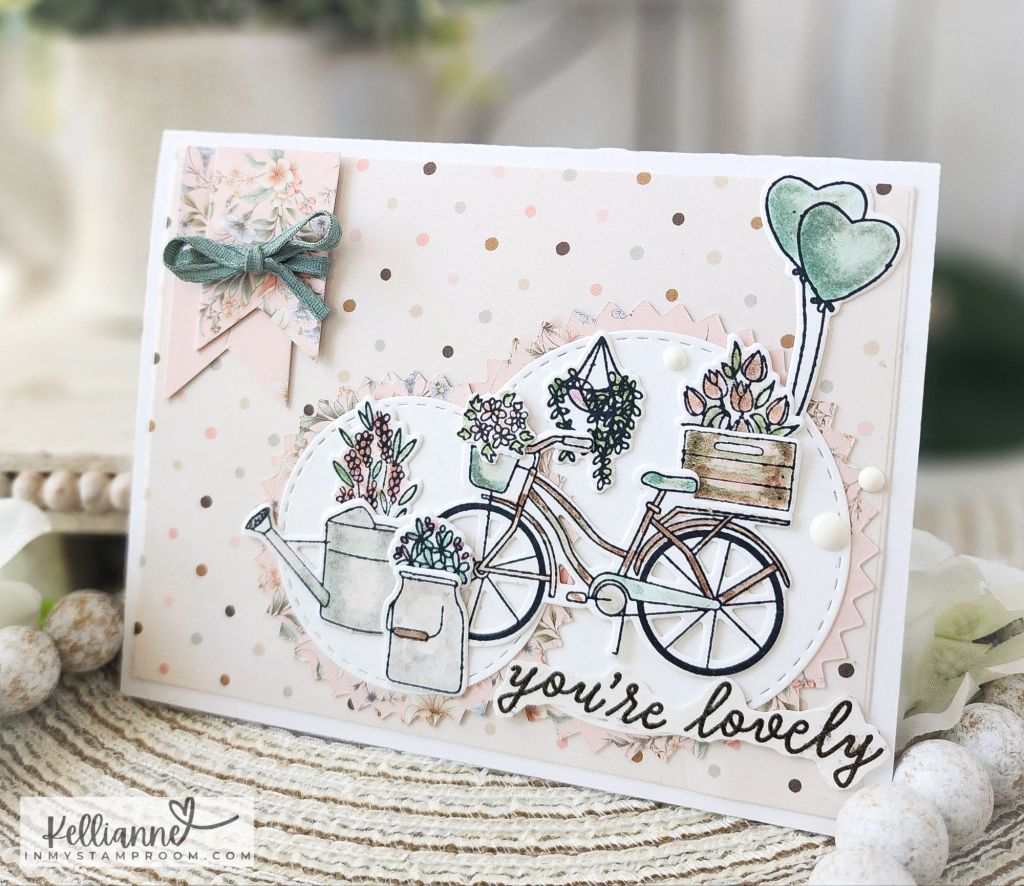
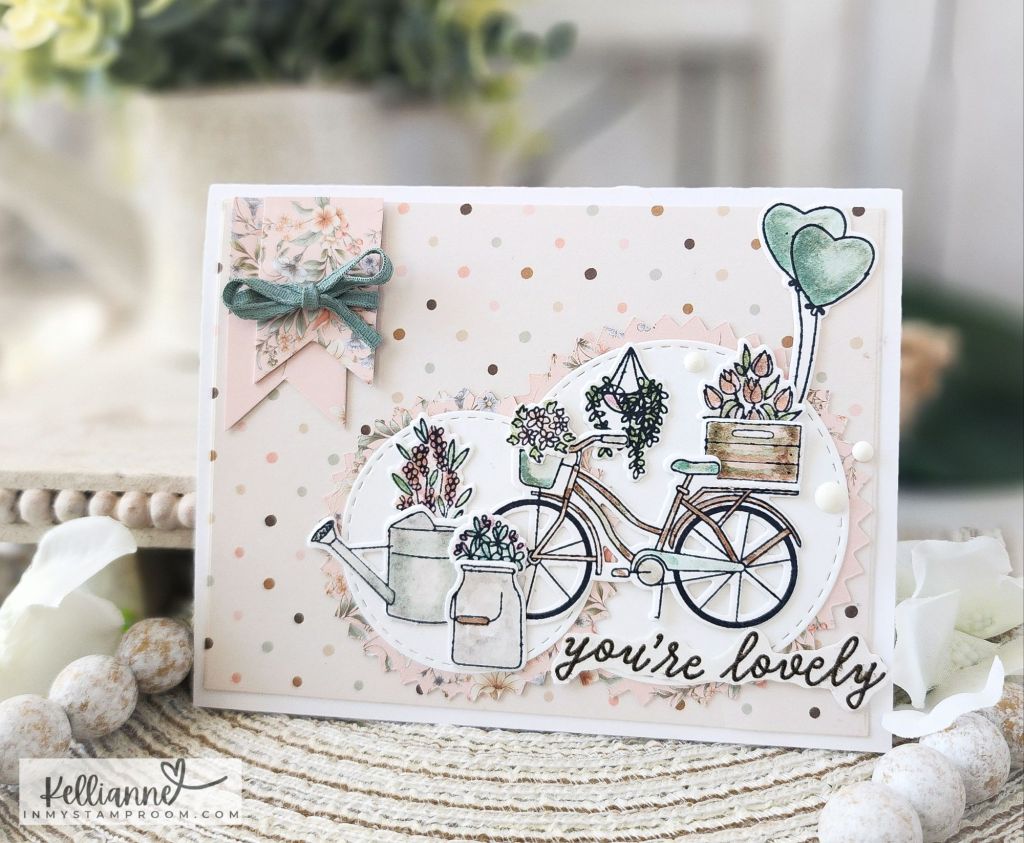
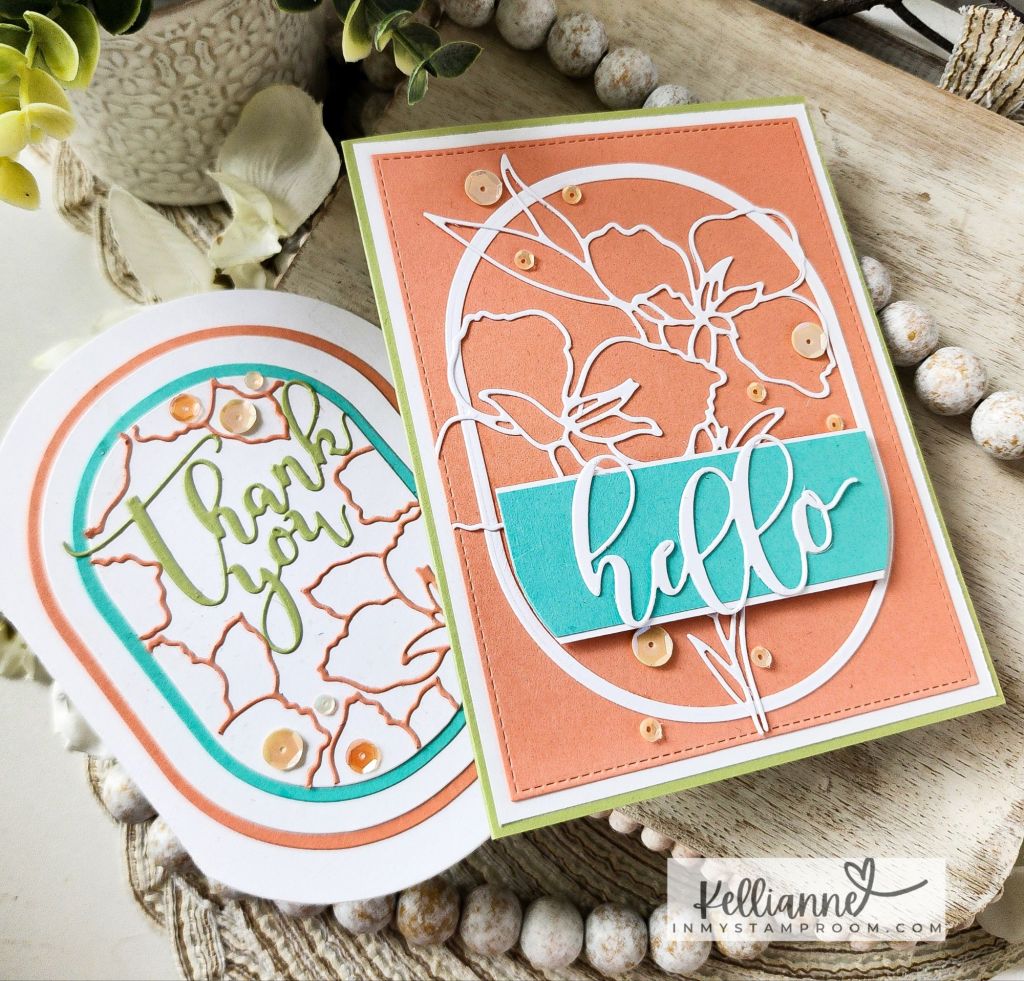
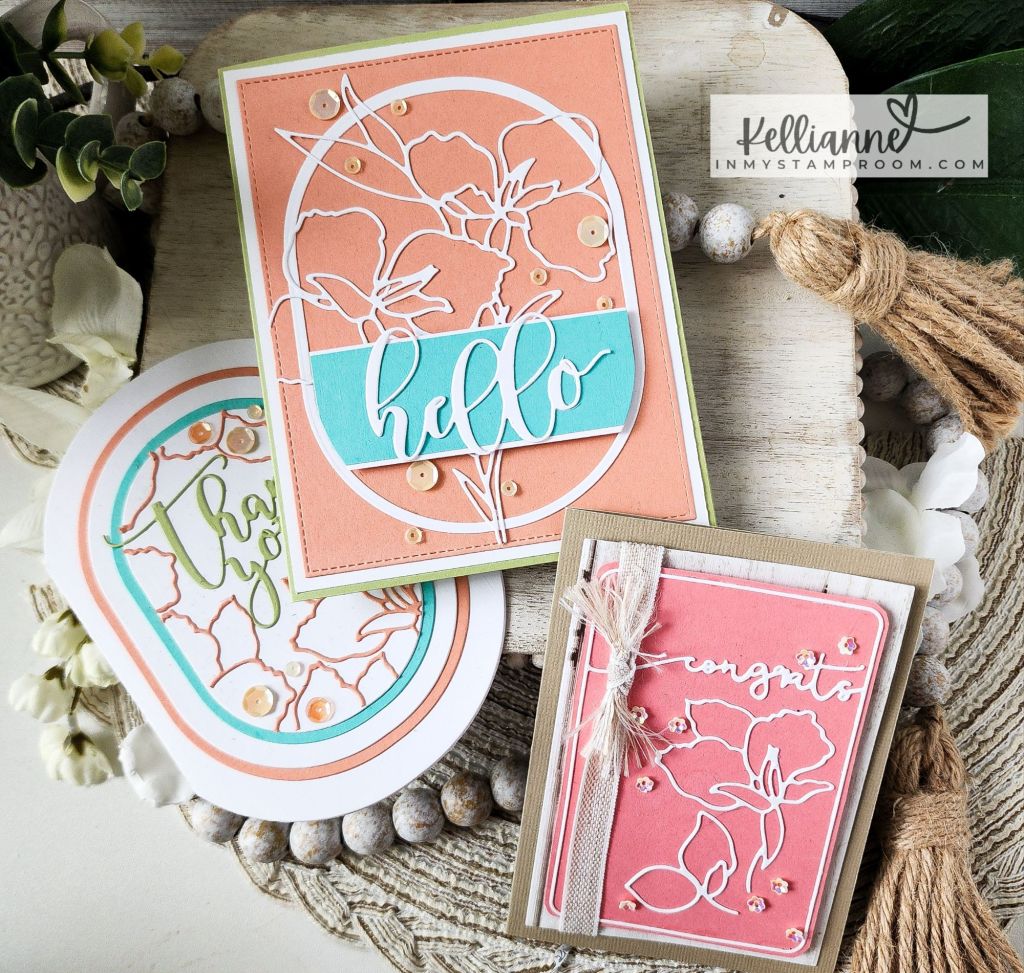
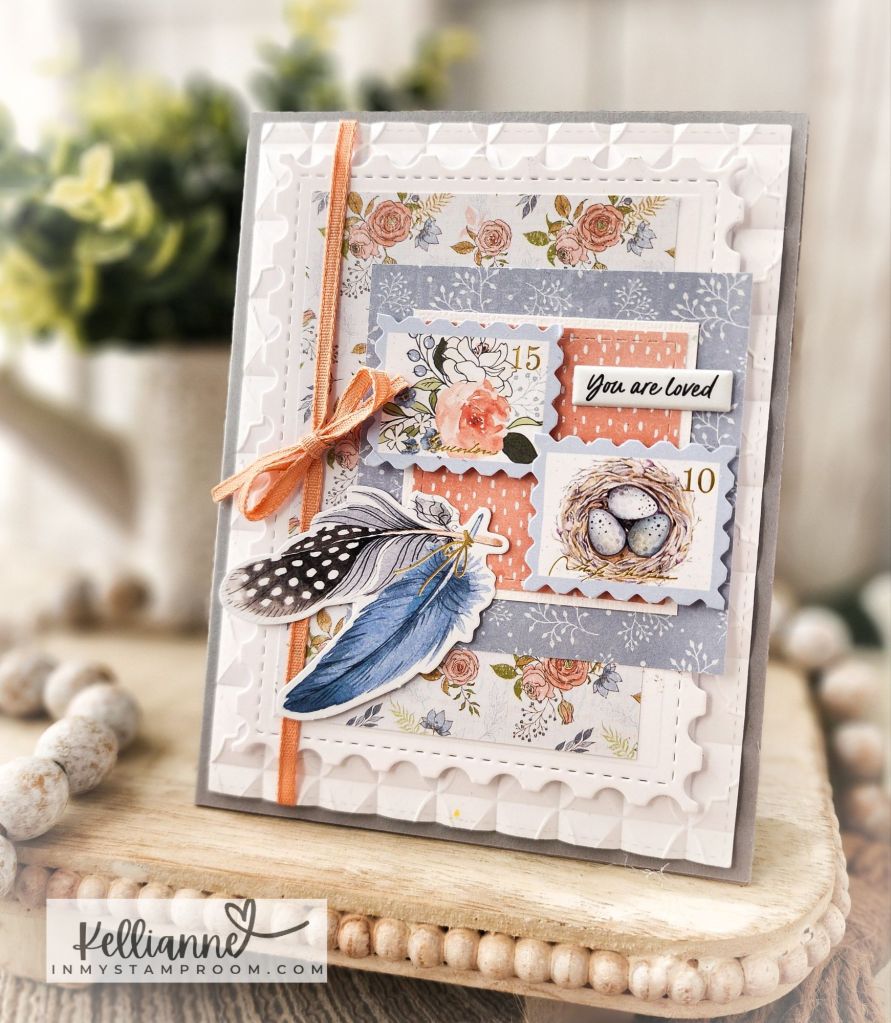
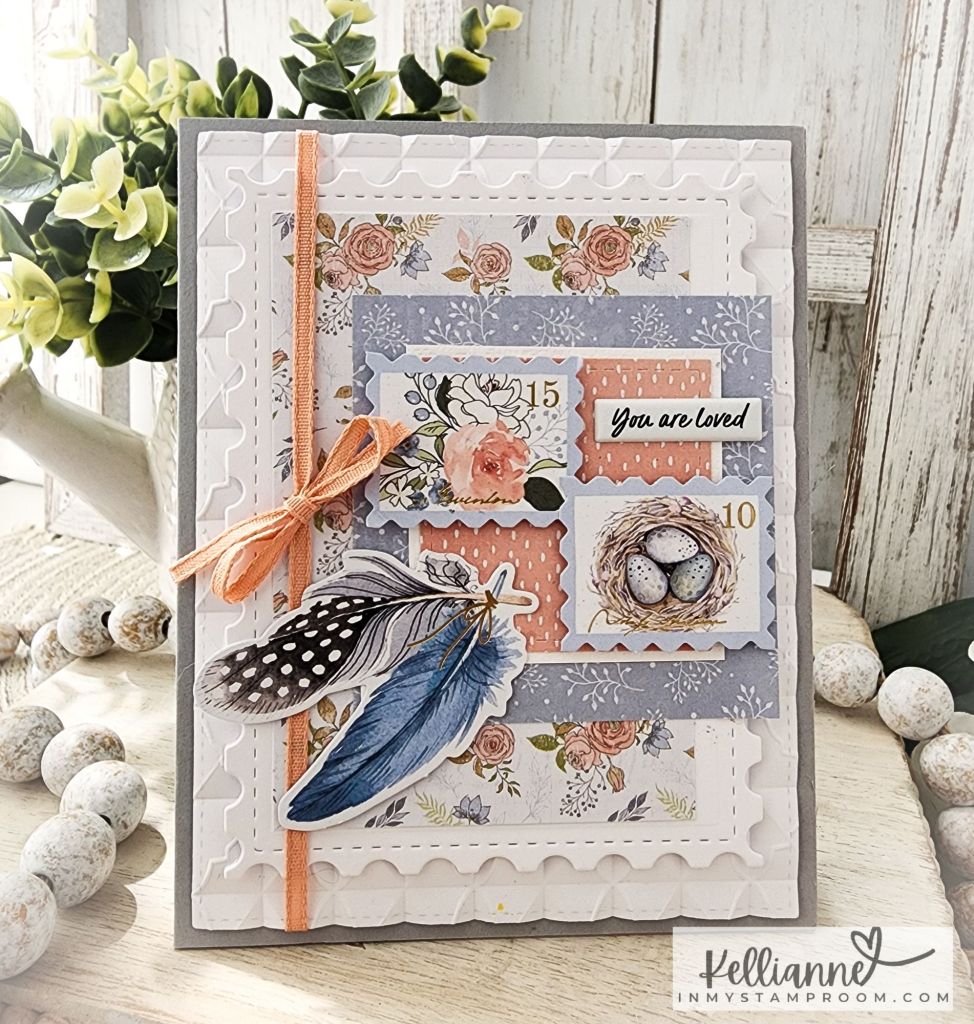
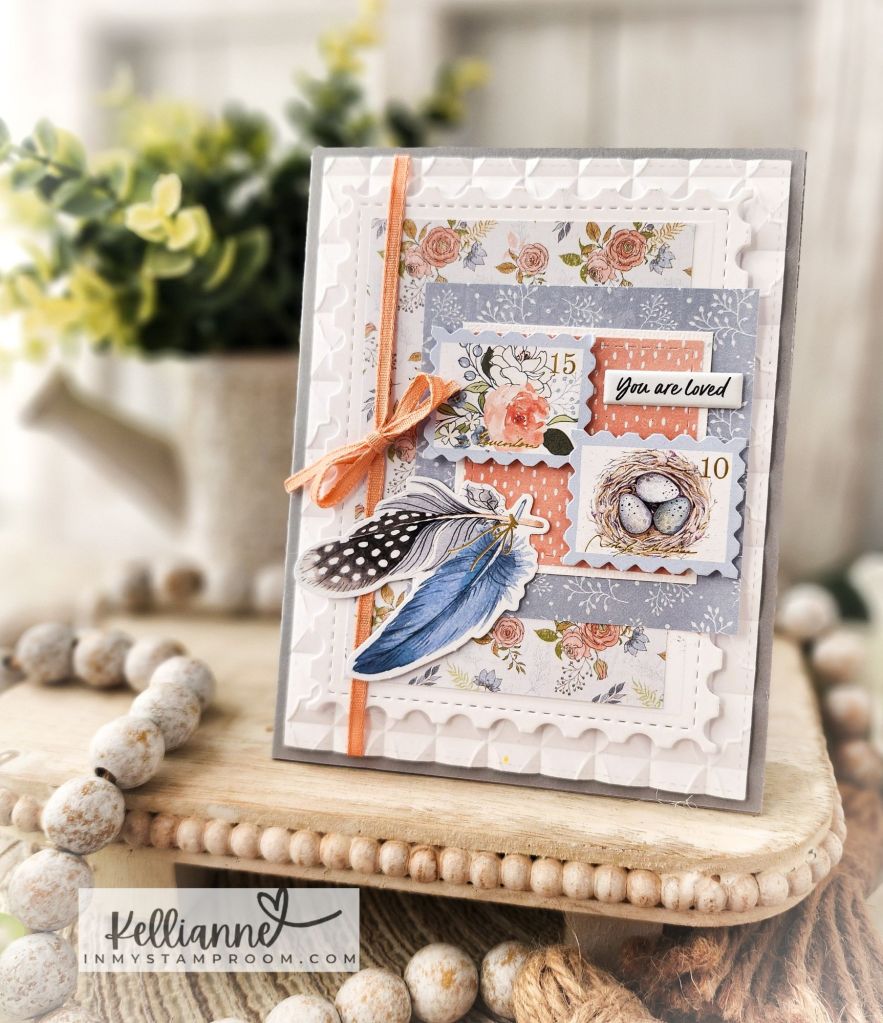
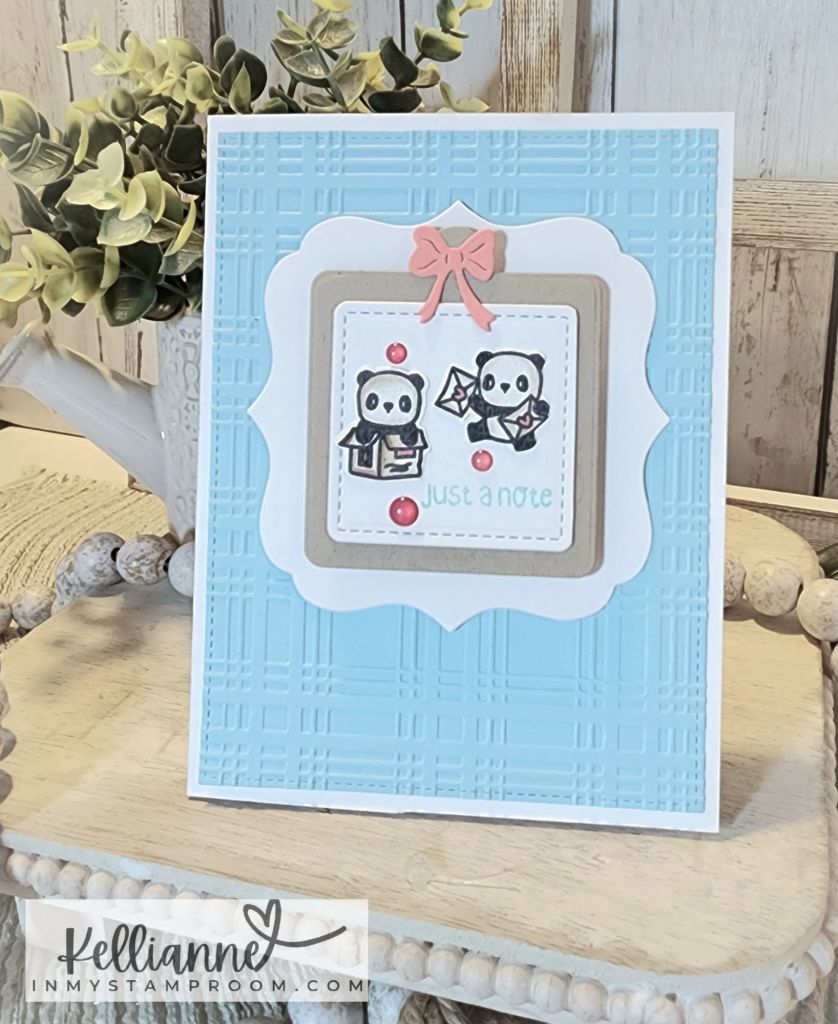
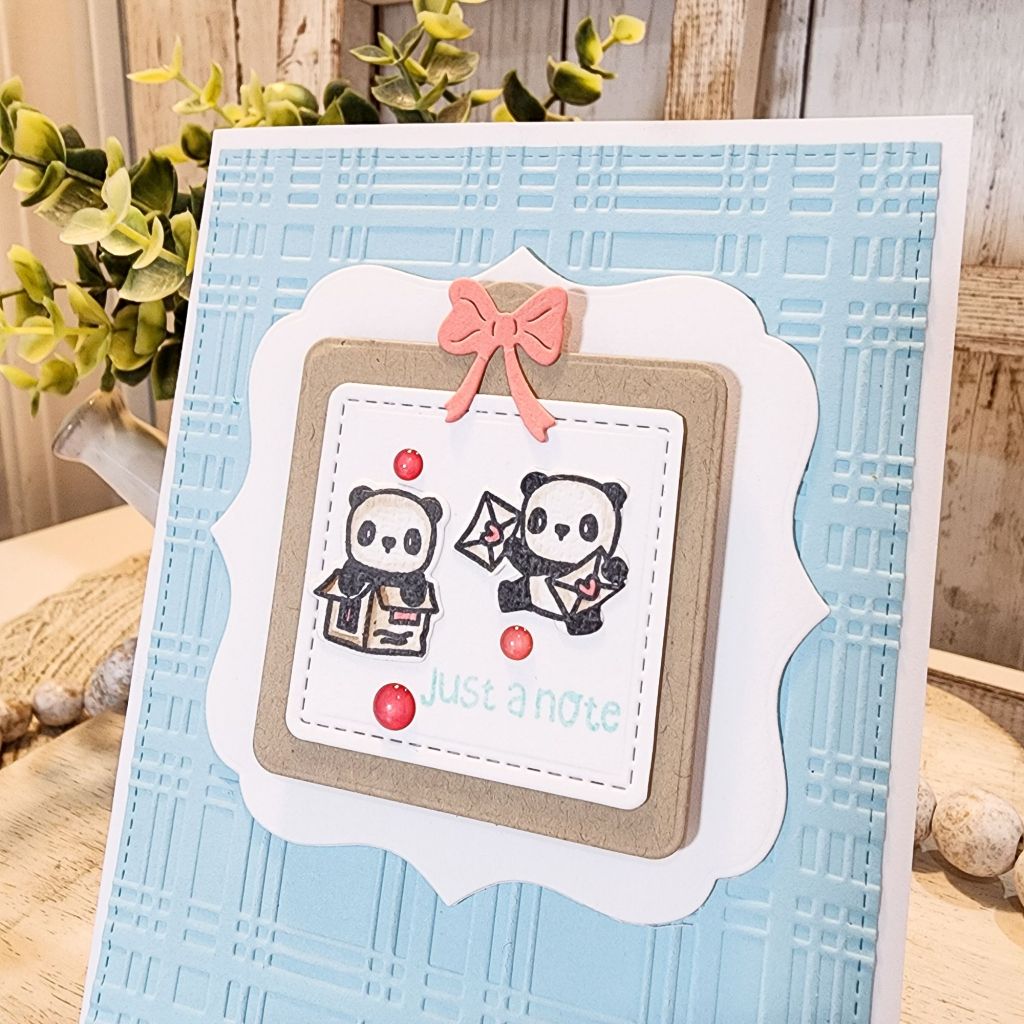
Thing 3 wants to see some kraft paper on your project. It was the perfect tone for the center of my little grad images!
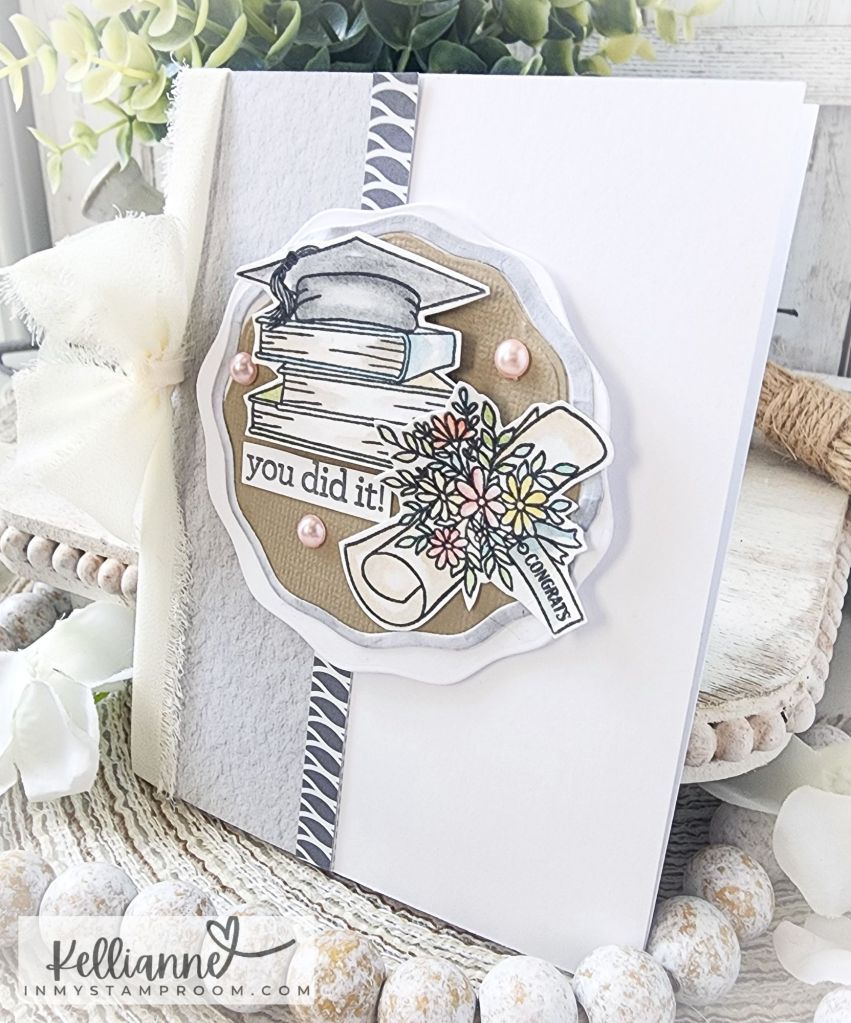
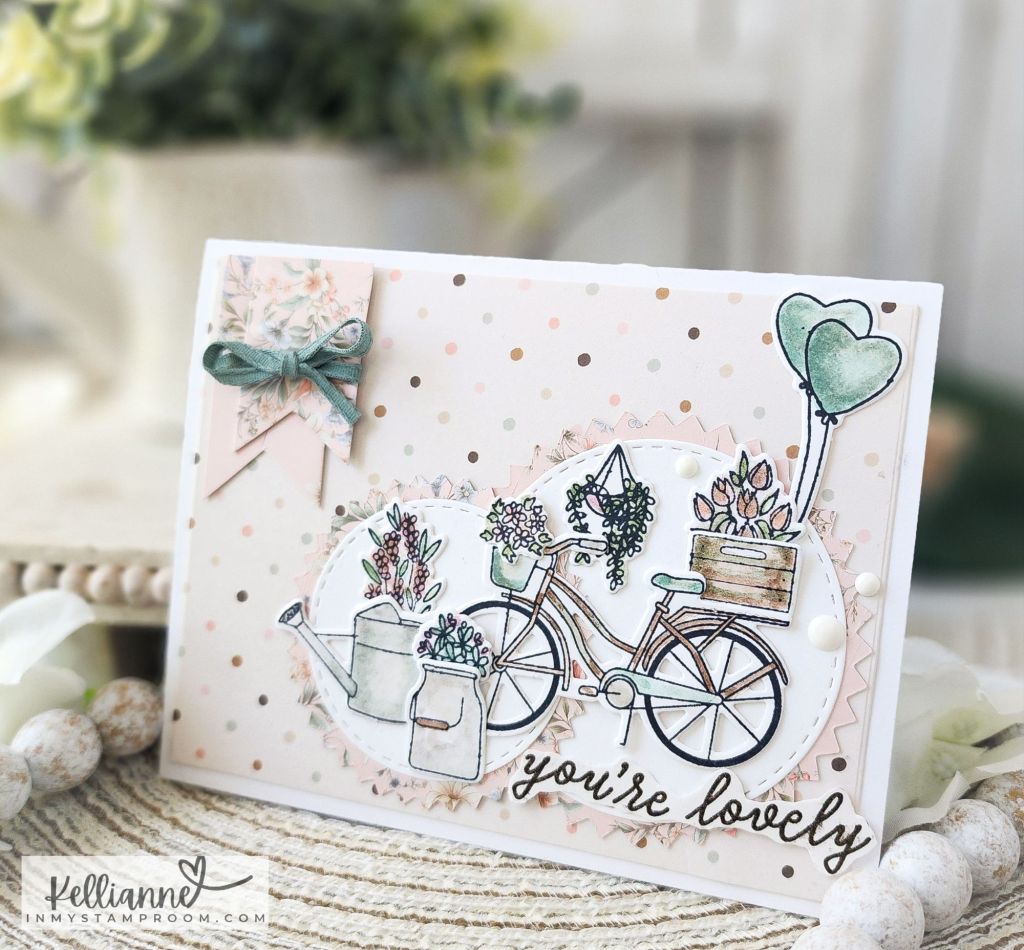
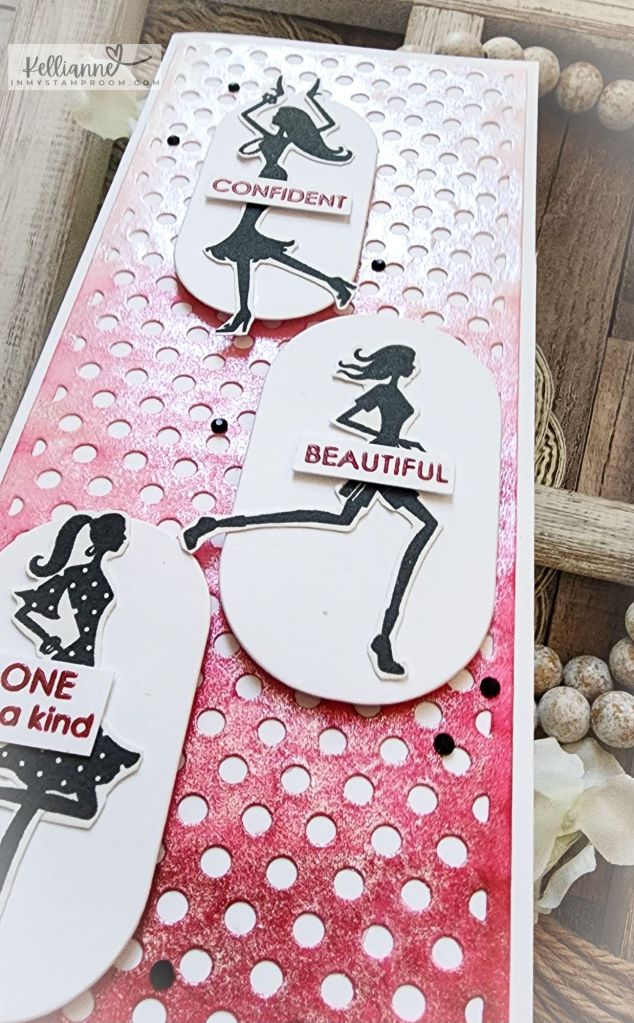
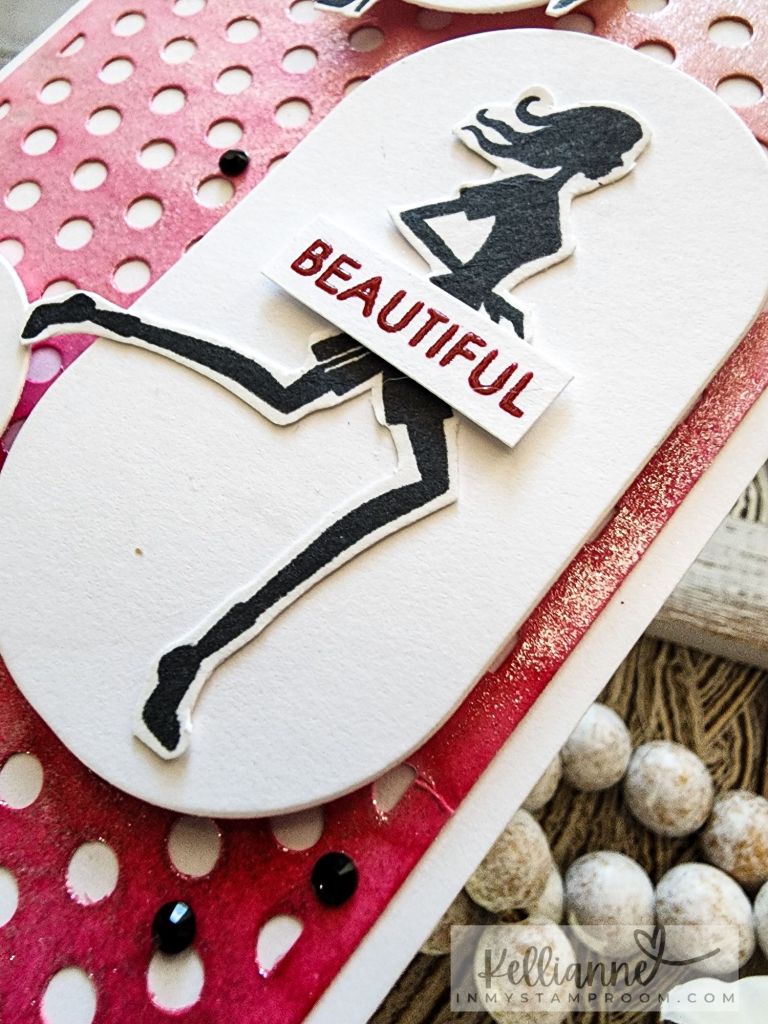
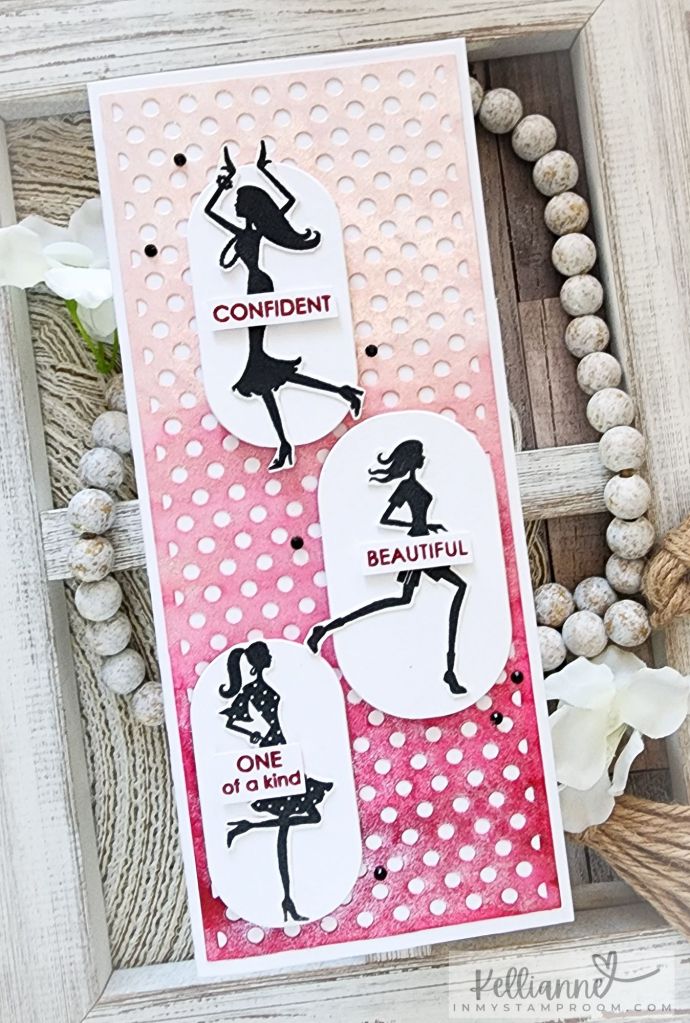
I used these adorable graduation images by Close to My Heart. One is called “You Did It!” and the other is “Congrats Roll”.
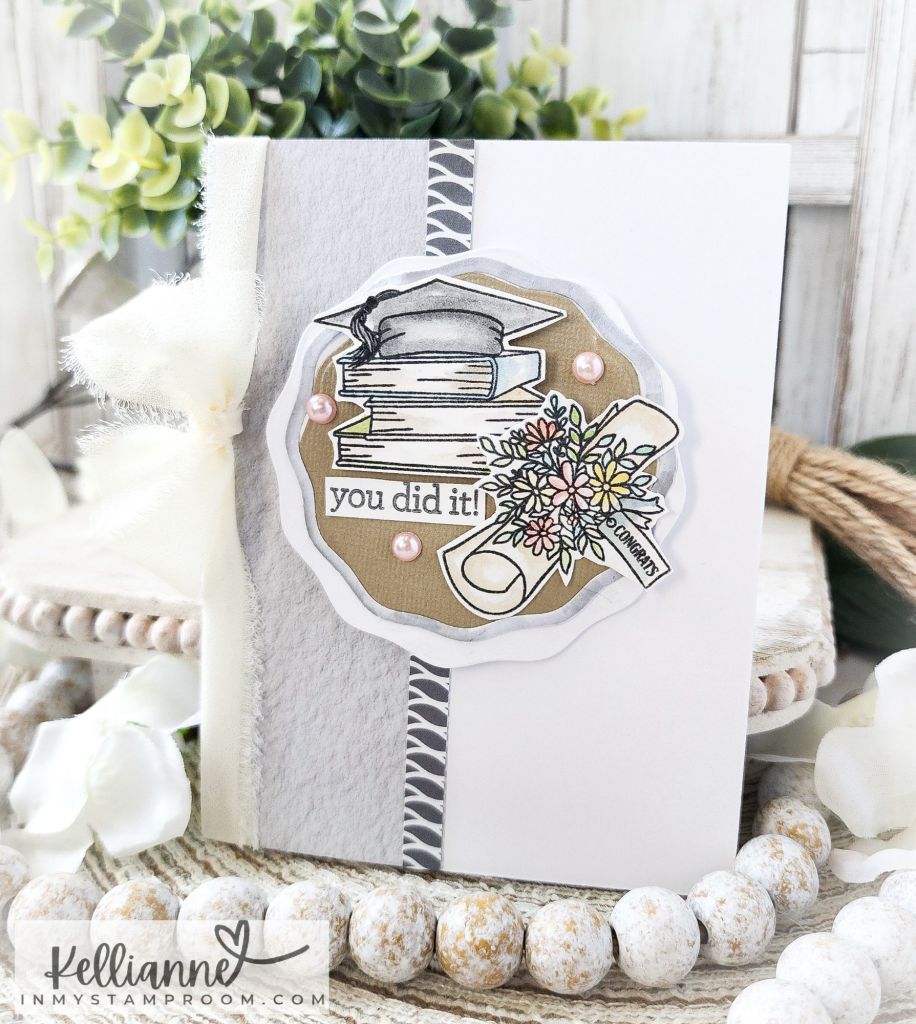
The fun wavy circle dies are from Scrapbook.com and are new! They are so versatile- I’m excited to use them lots!
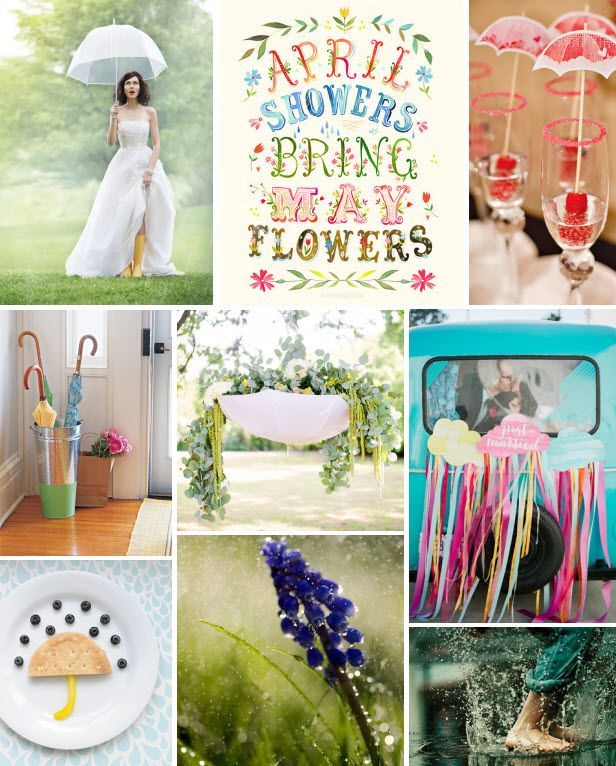
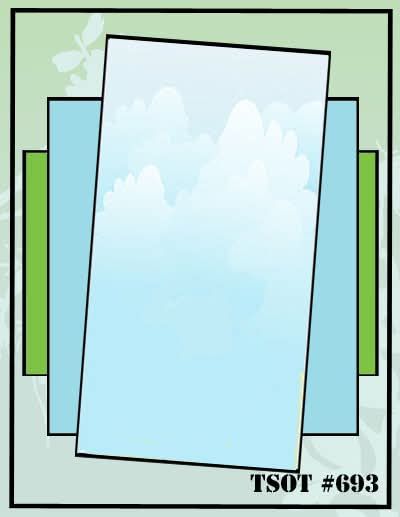
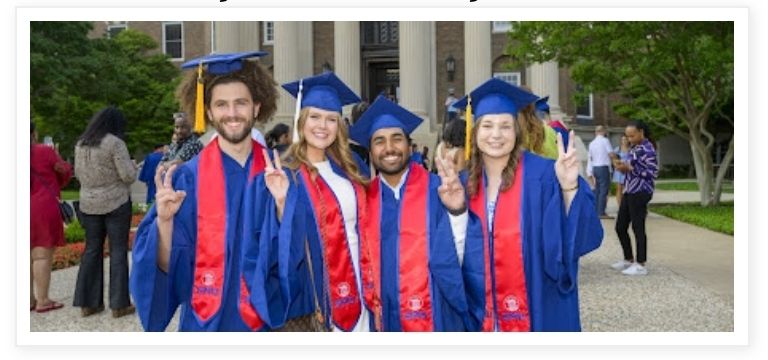
I’m also playing along with the Inspiration Station challenge. Here’s their challenge photo and of course I was inspired by the graduates!
This is only one of many that I need to get done this week – as we have many awesome kids that graduated High School in our circle of family and friends this year. Maybe I’ll just need to do them all the same.
Thanks for stopping by to see my card today!